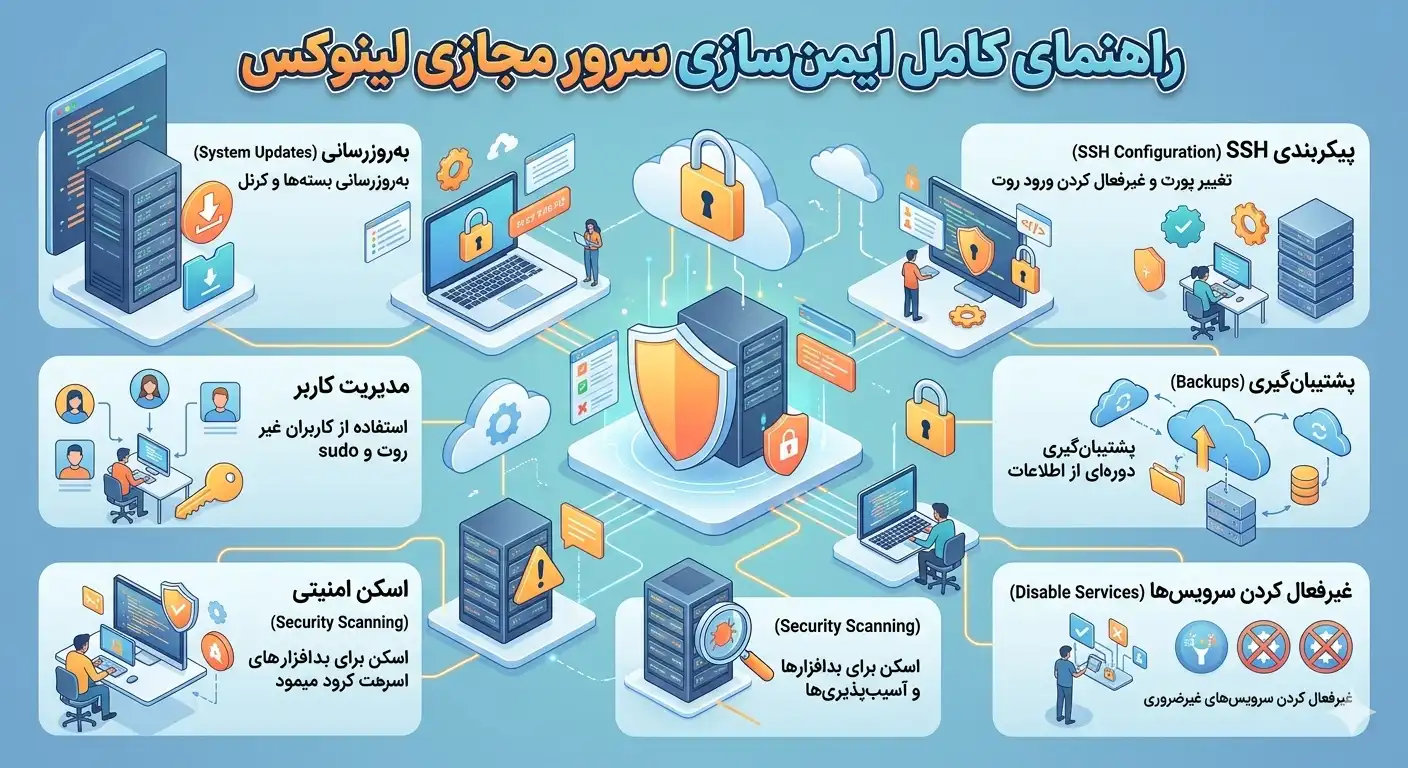
Securing a Linux virtual server is one of the first and most important things any server administrator should do immediately after taking delivery of a virtual server (VPS). A newly installed server placed on the Internet with default settings is the target of automated scans and unauthorized login attempts within minutes of activation. In this complete guide, we show step-by-step how to harden a Linux server (Ubuntu, Debian or CentOS) to resist the most common attacks. If you are looking for a secure infrastructure, you can provide the right platform to implement these measures from the beginning by buying a suitable virtual server.
Why is it important to secure a Linux virtual server?
Many users assume that because Linux is inherently more secure than Windows, they don't need additional security measures. This notion is dangerous. Linux security depends more on "correct configuration" than the operating system itself. A server with a weak password on the root user, the default SSH port, and no firewall is practically an invitation to attackers.
Attackers are usually not looking for your specific value; They scan the entire Internet address space with automated tools (bots) and take over any vulnerable server to use to mine cryptocurrency, send spam, host malware, or engage in DDoS attacks. So even if there's nothing "important" on your server, you're still a valuable target for abuse.
Threat model in a public server
- Brute-force attacks on SSH: Attempt to guess the password of users, especially root.
- Exploitation of Vulnerable Services: Older versions of software with known security holes.
- Misconfiguration: Unnecessary open ports, inappropriate file permissions and unused services.
- Privilege Escalation: Initial penetration with a low-access user and then reaching root.
Understanding this threat model will help you implement security measures based on true priority, not sporadically. The general philosophy of hardening is based on two principles: the principle of "minimum access" (Principle of Least Privilege), which says that each user and service should only have access to the minimum resources necessary to do their work, and the principle of "Defense in Depth", which says that one should not be satisfied with a single defense layer; If one layer fails, subsequent layers must stop the attacker. In the rest of this guide, we will put both principles into practice.
Another important point is that timing matters. The best time to do this is immediately after the server is delivered and before any services or data transfers are installed. A freshly installed server has the lowest attack surface and the later you act, the more likely you will be compromised before hardening.
The first step in securing a Linux virtual server: updating and a non-root user
Before doing anything, update the system completely. Many vulnerabilities are fixed with a simple update. Then create a normal user with sudo access and avoid logging in directly with root.
apt update && apt upgrade -y
adduser rapido
usermod -aG sudo rapido
On RHEL-based distributions (such as CentOS and AlmaLinux) the commands are slightly different:
dnf update -y
adduser rapido
passwd rapido
usermod -aG wheel rapido
After creating the new user, log in with another terminal (without closing the current session) to make sure sudo access is working properly. Never close the current root session until you are sure the new user is working; Otherwise you may get kicked out of the server.
secure SSH configuration; The heart of Linux virtual server security
The SSH service is your gateway to the server and the most important point to harden. There are three key actions in this section: using a key instead of a password, disabling root login, and changing the default port.
Authentication with SSH key
Key-based authentication is much more secure than passwords because the private key is virtually unguessable. Create a key on your local system (not the server):
ssh-keygen -t ed25519 -C "rapido@laptop"
ssh-copy-id rapido@YOUR_SERVER_IP
ed25519 algorithm is faster and more secure than RSA. After transferring the key, you should be able to log in without entering a password.
Harden the SSH configuration file
Edit the /etc/ssh/sshd_config file and set the following values:
Port 2222
PermitRootLogin no
PasswordAuthentication no
PubkeyAuthentication yes
MaxAuthTries 3
AllowUsers rapido
Then restart the service:
sudo systemctl restart sshdSecurity warning: Before closing the default port 22 in the firewall, first make sure you can log in with the new port (eg 2222). Otherwise, you may lose access completely and be forced to use the emergency console.
Disable password login
By setting PasswordAuthentication no, brute-force attacks are effectively rendered ineffective, as there is no longer any password to guess and only the owner of the private key can enter. This is one of the most effective measures in securing a Linux virtual server.
Setting up a firewall and reducing the level of attack
The firewall determines which ports are accessible from the outside. The golden rule is: Everything that is not necessary, be closed. On Ubuntu and Debian, the UFW tool is the easiest option:
sudo ufw default deny incoming
sudo ufw default allow outgoing
sudo ufw allow 2222/tcp
sudo ufw allow 80/tcp
sudo ufw allow 443/tcp
sudo ufw enable
With this configuration, only the necessary ports (custom SSH, HTTP and HTTPS) remain open and the rest of the incoming traffic is blocked. Use the following command to check the firewall status:
sudo ufw status verboseRemove unnecessary services
Every running service is a potential attack surface. Check open services and disable unused ones:
sudo ss -tulpn
sudo systemctl disable --now telnet.socket
sudo systemctl disable --now rpcbind
Automatic protection with Fail2ban
The Fail2ban tool monitors server logs and automatically blocks IP addresses that have repeated failed login attempts. This tool is a great complement to SSH security and other services:
sudo apt install fail2ban -y
sudo cp /etc/fail2ban/jail.conf /etc/fail2ban/jail.local
In the /etc/fail2ban/jail.local file, enable and configure the SSH section:
[sshd]
enabled = true
port = 2222
maxretry = 3
bantime = 3600
findtime = 600
Then activate the service and see its status:
sudo systemctl enable --now fail2ban
sudo fail2ban-client status sshd
With these settings, any IP that fails to log in three times within 10 minutes (findtime) will be blocked for one hour (bantime).
Automatic update and security patch management
Many intrusions occur due to outdated software. Enabling automatic security patch updates is an important layer of defense:
sudo apt install unattended-upgrades -y
sudo dpkg-reconfigure --priority=low unattended-upgrades
This package ensures that critical security patches are installed without manual intervention. However, it is recommended that you still perform major system updates manually after a backup to ensure the stability of services.
Monitoring logs and server behavior
Continuous monitoring of logs helps you detect unusual behavior early:
sudo journalctl -u sshd --since "1 hour ago"
sudo lastb | head -20
sudo tail -f /var/log/auth.log
The lastb command displays a list of failed login attempts and is a good tool for detecting ongoing attacks. For more professional monitoring, you can install tools such as auditd, which records system security events in great detail and allows detailed examination of the behavior of files and processes. In larger environments, sending the logs to a centralized server (such as a SIEM system) is recommended, because if an attacker breaks into the server, the first thing they will do is wipe their tracks from the local logs; But logs sent to another server remain intact.
Advanced hardening and additional layers of defense
Once you've covered the basics, you can strengthen your security with more advanced measures. These layers are especially important for servers that hold sensitive data.
Enable SELinux or AppArmor
These tools limit the scope of damage by enforcing mandatory access control (MAC), even if a service is compromised. In Ubuntu, AppArmor is enabled by default; Check its status:
sudo aa-statusTwo-factor authentication for SSH
Adding a second factor (such as a Google Authenticator OTP) to the SSH login prevents intrusion even if the key is leaked. This increases security significantly but requires careful configuration to avoid account lockouts.
Manage file and user permissions
Many intrusions spread after initial access through incorrect file permissions. Ensure that sensitive files such as private keys and configuration files have limited permissions. For example, the SSH keys folder should be readable only by its owner:
chmod 700 ~/.ssh
chmod 600 ~/.ssh/authorized_keys
sudo find / -perm -4000 -type f 2>/dev/null
The last command lists all files with the SUID bit; These files run with owner access and can be exploited to increase the access level, so they should be checked carefully. Also, periodically review system users and disable or delete unused accounts to reduce the attack surface.
Restrict sudo access
Instead of giving all users full sudo access, you can limit each user's access to specific commands. This is done by securely editing the sudoers file:
sudo visudoBy defining detailed rules in this file, even if a user's account is compromised, an attacker cannot access all administrative commands. This is exactly the principle of least access in practice that we mentioned earlier.
Summary table of security measures
| action | Priority | Security effect |
|---|---|---|
| System update | very high | Fix known vulnerabilities |
| Disable root login | very high | Eliminate the main target of attacks |
| Authentication with SSH key | very high | Brute-force neutralization |
| UFW firewall | up | Decreased attack level |
| Fail2ban | up | Automatic blocking of attackers |
| Automatic update | average | Continuous security patches |
Maintenance and periodic review of security
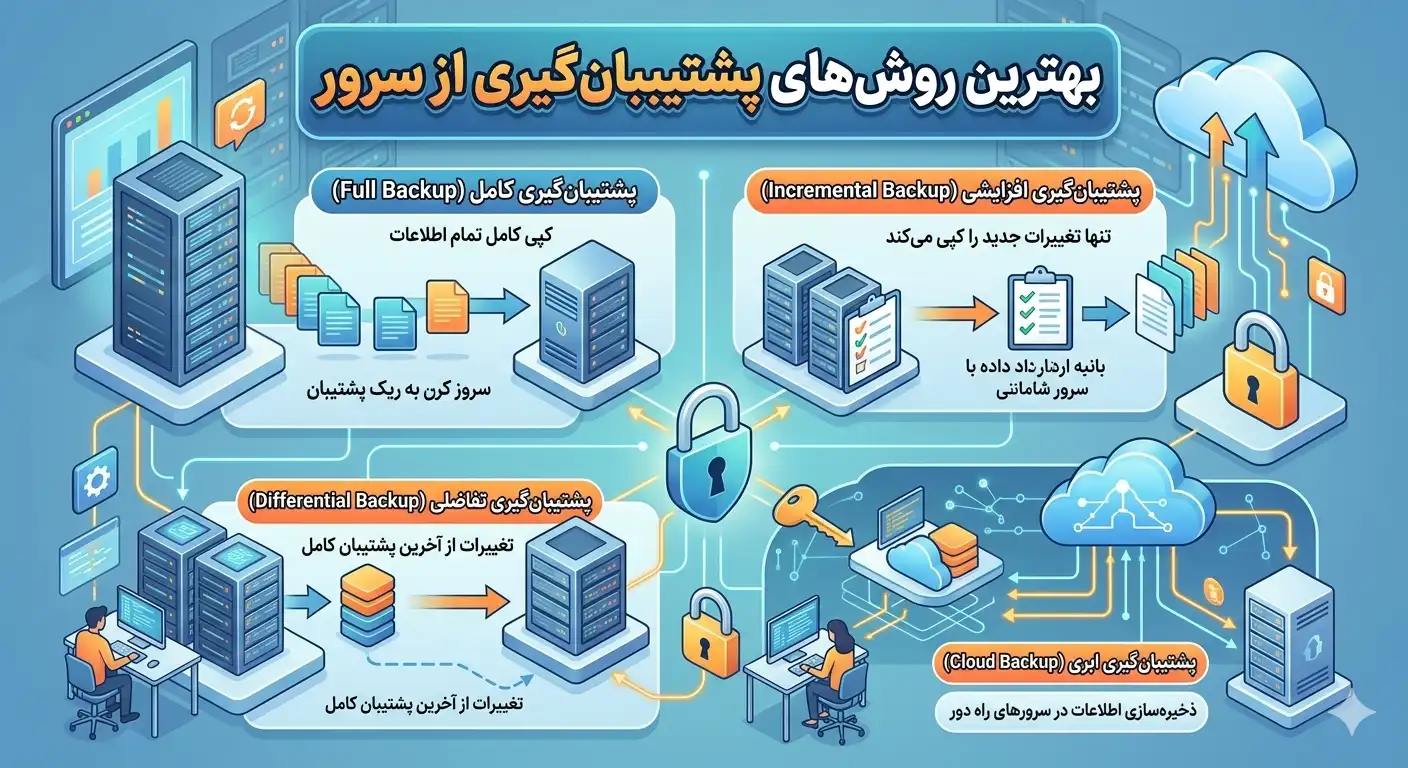
Security is not a one-time event, but a continuous process. At least once a month, review the following: active system users, open ports, login logs, status of updates, and backups. Regular backup is also an integral part of security; Because in the worst case scenario (e.g. a ransomware attack), the only way to quickly recover is to have a healthy backup. To learn more about technical topics, you can read other Rapido Server articles.
By following the steps in this guide, your server will go from an easy target to a very hard target. Automated attackers usually don't go for hard targets and quickly move on to the next victim. This reduces a large part of the risk from your head.
Frequently asked questions
Do I really need to change the SSH port?
Changing the SSH port is a "security by obscurity" measure and doesn't provide real security on its own, but it removes a huge amount of automatic scans on port 22 and keeps your logs cleaner. This is very effective along with key authentication and Fail2ban.
What happens if I lose my SSH key?
If you disable password login and lose the private key, you will no longer be able to log in via SSH. In this case, you need to enter through the VNC console or the management panel of the virtual server and add a new key. For this reason, always make a secure backup of your private key.
Is it safe to enable auto-update?
Automatic security patch updates are usually very safe and rarely cause disruption. However, for sensitive production servers, it is better to perform major updates manually after making a backup to have full control over the process.
Do these measures also apply to Windows Server?
General concepts such as updates, firewalls, removing redundant services and the principle of least access are also true for Windows Server, but the tools and commands are different. Windows uses Windows Firewall, Group Policy and hardened RDP, which is the subject of a separate article.