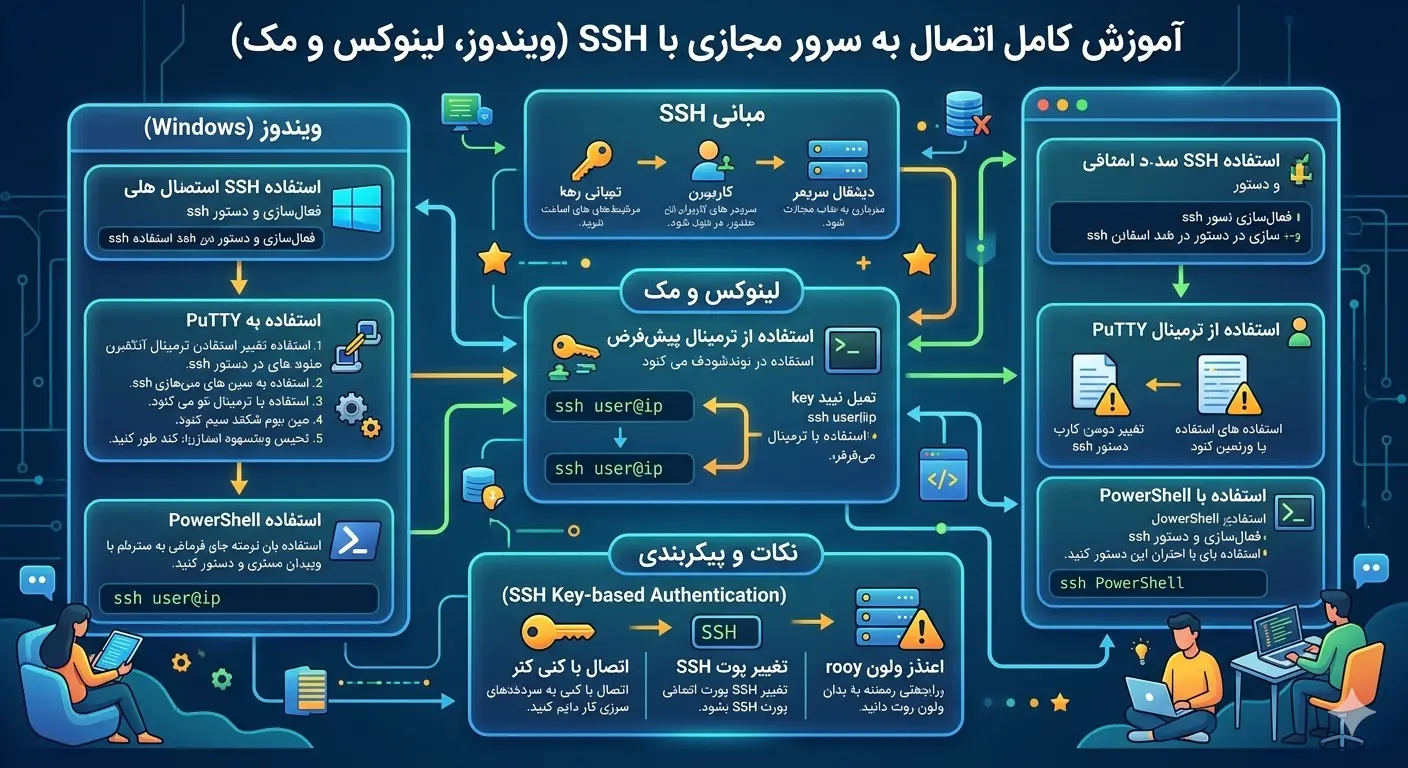
Connecting to a virtual server with SSH is the first and most important skill that every user should learn after purchasing a virtual server (VPS). The SSH or Secure Shell protocol allows you to remotely access the server command line, run commands, move files and manage services in a fully encrypted manner. In this article from Rapido Server, you will learn step-by-step how to connect to your server on Windows, Linux and Mac, create an SSH key, increase the security of the connection and fix the most common errors.
What is SSH and why is it critical to connect to a virtual server?
SSH is an application-layer network protocol that establishes a secure connection between two devices—the client (your computer) and the server. All data exchanged between the two, including usernames, passwords, and command output, are encrypted with powerful encryption algorithms. This feature makes SSH a secure alternative to older protocols such as Telnet and rlogin, which transmitted information in plain text.
By default, the SSH service listens on port 22 and follows the client-server model. On the server, a service called sshd (SSH Daemon) runs and waits for incoming requests. When you connect to a virtual server with SSH, the client and server first perform a key exchange process to create an encrypted channel, and then your identity is verified.
Note: Almost all Linux operating systems and server distributions have the SSH service installed and enabled by default; So you can connect immediately after the server is delivered.
Information you need before connecting
Before you make the first connection, you should have some basic information. This information is usually provided to you after purchasing a virtual server via email or user panel:
- Server IP Address: A four-part number like
185.51.200.10which is the public address of your server. - Username: In most Linux distributions the default user is
root, but some installations provide a user such asubuntuoradmin. - Password or private key: Depending on the authentication method, you have either a password or an SSH private key file.
- SSH port: If the server administrator has not changed the default port, it is 22.
Connecting to a virtual server with SSH on Linux and Mac
In Linux and macOS operating systems, the SSH client is installed by default on the system and you do not need to install additional software. Just open the terminal and enter the following command:
ssh root@185.51.200.10If your SSH server port is something other than 22, specify it with the -p switch:
ssh -p 2222 root@185.51.200.10On the first connection, a message about host authenticity will be displayed and it will ask you for the fingerprint of the server key. By typing yes this key is stored in the file ~/.ssh/known_hosts to prevent spoofing attacks on subsequent connections. Then enter the password; Note that no characters are displayed on the screen when typing the password, and this behavior is completely normal.
After a successful login, you will have access to the server command line and can run administrative commands. For example, to view operating system information:
cat /etc/os-release
uname -a
Connecting to a virtual server with SSH on Windows
In newer versions of Windows 10 and 11, the OpenSSH client is built-in and you can run the same Linux commands directly from PowerShell or Command Prompt:
ssh root@185.51.200.10However, many Windows users prefer to use the graphical software PuTTY, which has been the standard tool for this task for years. Follow the steps below to connect with PuTTY:
- Download and run the PuTTY software from the official site.
- Enter the IP address of the server in the Host Name (or IP address) field.
- In the Port field write the SSH port (usually 22) and make sure the connection type is SSH.
- Click the Open button to open a terminal window.
- Enter the username and then the password.
If you want to use the private key instead of the password, in PuTTY you should convert the key file to the .ppk format with the PuTTYgen tool and then introduce it in the Connection > SSH > Auth section.
Tip: If you frequently work with different servers, save the connection profiles in PuTTY so you don't have to re-enter the information every time.
Creating and using an SSH key for added security
Password authentication is simple but vulnerable to brute force attacks. A more secure method is to use an SSH key pair: a private key that stays on your system and a public key that stays on the server. To create a key pair in Linux, Mac or Windows PowerShell, run the following command:
ssh-keygen -t ed25519 -C "my-laptop"Algorithm ed25519 is the safest and fastest option today. If the old server doesn't support it, you can use rsa with a length of 4096 bits:
ssh-keygen -t rsa -b 4096 -C "my-laptop"During the run, you will be asked for the path to save the key and an optional passphrase. It is recommended to set a strong passphrase so that even if the private key is leaked, no one can use it. After generating the key, copy it to the server with the following command:
ssh-copy-id root@185.51.200.10If the ssh-copy-id command is not available (for example, on some versions of Windows), you can manually append the contents of the ~/.ssh/id_ed25519.pub public key file to the end of the ~/.ssh/authorized_keys file on the server. From now on, the connection is done without the need for a password and only with the key.
Hardening and increasing the security of SSH service
After making sure that key login is working properly, it's a good idea to apply some security settings on the server. The main configuration file of the service is located in the path /etc/ssh/sshd_config. Open it with a text editor:
nano /etc/ssh/sshd_configThe following changes are highly recommended:
- Disabling password login: Set the
PasswordAuthentication novalue so that only key login is possible. - Restrict direct root login: with
PermitRootLogin prohibit-passwordroot login is allowed only with the key; or completely disabled withno. - Change the default port: By setting
Port 2222you bypass most of the automatic Internet scans. - Limit authorized users: With
AllowUsers deploy adminyou allow only specific users to log in.
After each change, restart the service for the settings to take effect:
systemctl restart sshdImportant warning: Be sure to test the connection in a new window before closing the current terminal window. If you enter a setting incorrectly and the connection is lost, you may lose access to the server and have to log in from the admin panel console.
File transfer with SCP and SFTP
The SSH protocol is not only for command execution; With tools based on it, you can also move files securely. The scp command is used to copy files between the local system and the server. For example, to upload a file to the server:
scp ./backup.tar.gz root@185.51.200.10:/root/And to download a file from the server to the local system:
scp root@185.51.200.10:/var/log/nginx/access.log ./If you want to move an entire folder recursively, use the -r switch. Also, graphical tools such as FileZilla and WinSCP provide the possibility of SFTP connection with a drag and drop environment, which is very convenient for managing server files.
Fix the most common SSH connection errors
Sometimes you encounter errors when connecting to a virtual server with SSH. In the following, we will examine the most common ones and the solution for each:
| error | Possible cause | the solution |
|---|---|---|
| Connection refused | The SSH service is down or the port is wrong | Check the port and start the sshd service |
| Connection timed out | Firewall or network path is blocked | Check firewall rules and network access |
| Permission denied | Password or key is wrong | Check the username, password and key again |
| Host key verification failed | The server key has changed | Remove the corresponding line from known_hosts |
For more detailed troubleshooting, you can run the connection in verbose mode to see the details of each step:
ssh -v root@185.51.200.10If you get a Host key verification failed error and you're sure the server has changed (eg reinstalled), delete the old key:
ssh-keygen -R 185.51.200.10To learn more about Linux server management and additional tutorials, you can refer to the Rapido Server Articles section, which provides you with a complete set of practical guides.
Simplify connection with SSH configuration file
If you regularly connect to several different servers, typing in the IP address, port, and username every time becomes tedious. Fortunately, SSH has a client-side configuration file that makes this very simple. Just create or edit the ~/.ssh/config file:
nano ~/.ssh/configThen define a block for each server. For example:
Host rapido
    HostName 185.51.200.10
    User root
    Port 2222
    IdentityFile ~/.ssh/id_ed25519

Host web-prod
    HostName 91.107.180.20
    User deploy
    Port 22
From now on, instead of typing the full command, just type the alias and the connection will be established with all settings saved:
ssh rapidoThis method is not only faster, but also reduces the possibility of error in entering information to zero. You can also add more advanced options like ServerAliveInterval in the same file to prevent idle connections from being dropped.
Maintaining session and running long processes
One of the common challenges when connecting to a virtual server with SSH is that if your connection goes down, any processes that were running will also stop. Imagine you're downloading a large file or running a lengthy update and suddenly your internet drops. To solve this problem, session management tools such as tmux and screen have been developed. First install tmux:
apt install tmux -yThen create a new session and run your work in it:
tmux new -s myworkNow, even if your SSH connection is lost, processes will still run on the server. You can return to the same session again on the next connection:
tmux attach -t myworkRecommendation: Get into the habit of always running long tasks inside tmux. This simple habit can save you from big problems caused by sudden connection failure.
Tunneling and port forwarding with SSH
One of the lesser-known but very powerful features of SSH is the ability to create a secure tunnel to transmit traffic. Suppose you have a database on a server that is only accessible locally (localhost) and you don't want to open its port to the Internet. With local port forwarding you can securely connect to:
ssh -L 5432:localhost:5432 root@185.51.200.10In this command, port 5432 on your local system is connected to port 5432 on the server (via an encrypted tunnel). This way you can connect to the database on your system with graphical tools as if it were a local database, while all traffic goes through the secure SSH tunnel. This feature is very valuable for secure access to internal server services without opening additional ports on the firewall.
Frequently asked questions
Do I need special software to connect to the virtual server with SSH?
no In Linux and Mac client, SSH is installed by default, and in Windows 10 and 11, there is also built-in OpenSSH. Only if you want to have a graphical environment, you can use software like PuTTY.
Is it more secure to log in with a key or a password?
Login with an SSH key is much more secure because the private key is never transmitted over the network and is resistant to password guessing attacks. It is recommended to completely disable password login after setting the key.
How do I change the SSH port and why is this useful?
You can change the port by editing the /etc/ssh/sshd_config file and changing the Port value and then restarting the service. This greatly reduces the volume of automated scans and attacks on port 22, although it is not a substitute for other security measures by itself.
If I forget the root password, how can I connect to the server?
In this case, you can log in through the VNC console or the server management panel provided by the provider and reset the password. This console works independently of SSH and gives low-level access to the server.