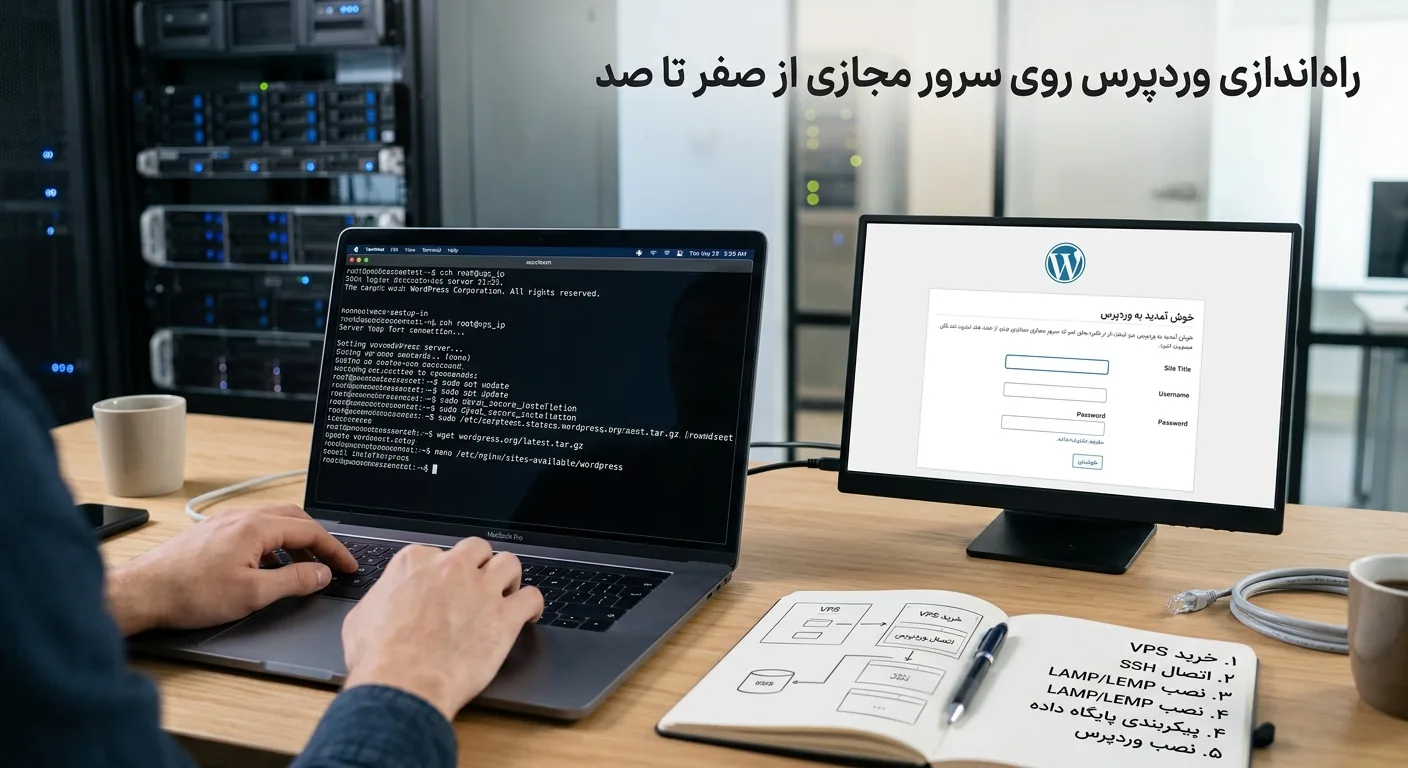
Installing WordPress on a virtual server is one of the best ways to have a fast, secure and completely under your control site. Unlike shared hosting that has a pre-packaged and limited environment, when you run WordPress on a VPS, you have guaranteed resources and can customize every part of the software stack exactly to your needs. In this step-by-step guide, we go through this process from zero to hundred.
If you've only worked with cPanel hosts to date, setting up WordPress on a virtual server may seem a little intimidating at first. But the good news is that by following this step-by-step tutorial, you can put up a professional WordPress site even without deep Linux experience.
Why install WordPress on a virtual server?
WordPress also works on shared hosting, but a virtual server has important advantages that are decisive for serious sites:
- Guaranteed Resources: Your CPU and RAM are not shared with other sites.
- Complete control: You can choose PHP version, web server and cache settings.
- Higher security: The environment is isolated and its security is in your hands.
- Scalability: Easily upgrade resources as your site grows.
- Better performance: With the right setting, you will get much higher speed than shared hosting.
If you don't have a virtual server yet, the first step is to buy a virtual server with resources appropriate to the size of your site. For a typical WordPress site, it makes sense to start with 2GB of RAM and 2 CPU cores.
Prerequisites before you start
Before you get started, you'll need:
- A virtual server with a Linux operating system (Ubuntu 22.04 is a good choice).
- SSH access to the server (IP address, username and password or key).
- A domain whose A record points to the server IP.
- Introduction to the Linux command line.
Note: Be sure to update the server operating system before starting the installation. This eliminates many security and incompatibility issues from the start.
Step 1: Connect to the server and update the system
First, connect to the server via SSH and update the software package:
ssh root@YOUR_SERVER_IP

apt update && apt upgrade -y
After the update is complete, you are ready to install the software stack. For WordPress, LEMP (Linux, EngineX, MySQL, PHP) or LAMP (with Apache) stack is usually used. In this tutorial, we use Nginx, which is lighter and faster.
Step 2: Install Nginx web server
The web server is responsible for responding to user requests. Install and enable Nginx:
apt install nginx -y
systemctl enable nginx
systemctl start nginx
Now if you open the server IP in a browser, you should see the default Nginx page. This means the web server is working properly.
Step 3: Install the MariaDB database
WordPress needs a database to store content, settings and users. MariaDB is an open source and compatible MySQL alternative:
apt install mariadb-server -y
mysql_secure_installation
In the mysql_secure_installation process, set a strong password for the root user and answer the security questions to remove insecure access.
Creating a database for WordPress
Then enter the MariaDB environment and create a dedicated database and user for WordPress:
CREATE DATABASE wordpress_db;
CREATE USER 'wp_user'@'localhost' IDENTIFIED BY 'YOUR_STRONG_PASSWORD';
GRANT ALL PRIVILEGES ON wordpress_db.* TO 'wp_user'@'localhost';
FLUSH PRIVILEGES;
EXIT;
Step 4: Install PHP and necessary plugins
WordPress is written in PHP language. Install the required PHP version and plugins:
apt install php-fpm php-mysql php-curl php-gd php-mbstring php-xml php-zip -yPlugins like php-gd for image processing and php-curl for communication with external services are required. Without these, some WordPress features will not work properly.
Step 5: Download and install WordPress
Now download the latest version of WordPress and place it in the root path of the site:
cd /var/www/
wget https://wordpress.org/latest.tar.gz
tar -xzvf latest.tar.gz
chown -R www-data:www-data /var/www/wordpress
chmod -R 755 /var/www/wordpress
Correctly setting the ownership and access level of files is very important; Both so that WordPress can write the files and to maintain the security of the site.
Step 6: Configure Nginx for WordPress
Create a configuration file for your site in Nginx so that requests are correctly routed to WordPress:
server {
    listen 80;
    server_name yourdomain.com www.yourdomain.com;
    root /var/www/wordpress;
    index index.php;

    location / {
        try_files $uri $uri/ /index.php?$args;
    }

    location ~ \.php$ {
        include snippets/fastcgi-php.conf;
        fastcgi_pass unix:/run/php/php-fpm.sock;
    }
}
After saving the file, test the configuration and restart Nginx:
nginx -t
systemctl reload nginx
Step 7: Complete the installation through the browser
Now open your domain in the browser. The WordPress installation page will appear. Enter the database information you created in step three, set the site title and administrator account, and complete the installation. congratulations Your WordPress site is now active.
Step 8: Secure with a free SSL certificate
To enable HTTPS, use Let's Encrypt, which provides a free SSL certificate:
apt install certbot python3-certbot-nginx -y
certbot --nginx -d yourdomain.com -d www.yourdomain.com
Certbot automatically configures Nginx for HTTPS and renews the certificate periodically.
Security Tip: After installation, be sure to install a valid security plugin, enable two-step login, and change the default admin username.
WordPress optimization for more speed
Once installed, a few steps will dramatically improve your site's speed:
| action | influence |
|---|---|
| Enable page cache | Reduce server load and load faster |
| Image compression | Reduced screen size and higher speed |
| Enabling OPcache in PHP | Faster execution of PHP codes |
| Using a CDN | Faster delivery of content to users |
| Remove unnecessary plugins | Reducing resource consumption and increasing security |
To fully set up the site, you also need a domain, which you can do through domain registration. Additional tutorials are available in Rapido Server Articles.
Setting up email and other services
After setting up the site, you will probably need to send emails from the WordPress side; For example, to recover a password, notify registration or send an invoice in stores. By default, emails sent directly from the server may end up in recipients' spam folders or may not be delivered at all.
The professional solution is to send email through a trusted SMTP service. By installing an SMTP plugin and setting the email server information, the delivery rate of messages will improve dramatically. This is especially important for stores that send important transactional emails.
In addition to email, you may want to install additional services such as a server-level caching system or monitoring tools. The advantage of a virtual server is that you are completely free to install and configure these services, and you can create an environment exactly according to the needs of your project.
Management and maintenance of WordPress after installation
Installing WordPress is just the beginning; Its regular maintenance guarantees the stability and security of the site in the long term. An abandoned and poorly updated site quickly becomes a target for attacks and technical problems. In the following, we review the most important periodic maintenance tasks.
Regular update
WordPress core, themes, and plugins are updated regularly to add new features and close security holes. It is recommended that you make a backup before any major update so that you can roll back in case of an incompatibility. Timely updating is one of the most effective security measures.
Manage plugins
Plugins are the main power of WordPress, but installing too many of them can slow down the site and increase the level of security attack. Only install plugins you really need and remove inactive plugins. Also, use plugins from reliable and up-to-date sources, as abandoned plugins can be a security vulnerability.
Monitor server performance and resources
Periodically check server CPU, RAM and disk space usage. If you notice that the resources are constantly close to the ceiling, this is a sign that it is time to upgrade the server. With monitoring tools, you can identify pressure points and solve them before they become serious problems.
Tip: define a regular schedule for maintenance; For example, update plugins once a week and check site performance and security once a month. Prevention is always cheaper than cure.
Troubleshooting common problems after installation
Sometimes after installation or during use, you will encounter errors. Getting to know the most common ones will help you solve the problem faster:
| problem | Possible cause | the solution |
|---|---|---|
| Database connection error | Incorrect information in configuration file | Check username, password and database name |
| White Screen | Lack of PHP memory or incompatible plugin | Increase memory or disable the plugin |
| 500 error | Problem in server configuration or htaccess | Check the server error log |
| Slow loading | Lack of cache or insufficient resources | Enable cache or upgrade resources |
In most cases, checking the server error log file is the first step to identifying the root of the problem. Logs usually provide a detailed message about the cause of the error, which illuminates the path to solving the problem.
The difference between WordPress on VPS and managed hosting
In addition to the virtual server, there is another option called managed WordPress hosting, where the provider does most of the technical work for you, such as updates, backups, and security. Understanding the difference between the two will help you make the right decision.
Managed hosting is suitable for those who don't want to get involved in technical details and are willing to pay more for convenience. In contrast, WordPress on a virtual server offers full control, more flexibility and usually lower cost in exchange for higher resources, but the technical management is your responsibility. If you have the technical knowledge or are willing to learn, a virtual server gives you much more value.
Ultimately, choosing between the two depends on your time, technical know-how, and budget. Many users start with a virtual server and gradually learn server management skills; This path is both economical and gives you valuable knowledge that will be used in future projects.
Long term benefits of WordPress on VPS
When you run WordPress on your own server, you get benefits that become more important over time. You are no longer limited by the rules and restrictions of a shared hosting and you can create the environment exactly according to the needs of your project.
For example, you can upgrade your PHP version to take advantage of the latest speed improvements, optimize server-level cache settings, or manage multiple sites on one server. This freedom of action is extremely valuable, especially for developers and growing businesses, and is what makes virtual servers the choice of professionals.
summary
Installing WordPress on a virtual server, although it is a bit more specialized than shared hosting at first, but it gives you control, speed and security that no ready-made environment can provide. By following these eight steps, from system updates to SSL installation and optimization, you can build a professional, stable site that's ready to grow. The key to success is to proceed patiently and observe security tips from the very beginning.
Frequently asked questions
What knowledge is required to install WordPress on a VPS?
Basic familiarity with Linux command line and basic server concepts is sufficient. By following a step-by-step tutorial, you can do the installation even without deep experience. Of course, for long-term professional management, learning more Linux will be useful.
What is the minimum server resources for a WordPress site?
For a typical WordPress site with moderate traffic, it makes sense to start with 2 GB of RAM and 2 CPU cores and about 20 GB of NVMe space. As traffic grows and heavy plugins are added, you can upgrade resources gradually.
Is Nginx or Apache better for WordPress?
Both are good options. Nginx is lighter and performs better in handling high traffic and static files, while Apache offers more flexibility in configuration via htaccess file. For most WordPress sites, Nginx is the faster choice.
How to backup a WordPress site on a virtual server?
You can use WordPress backup plugins and manually backup files and database. The best practice is to combine periodic automatic backups and store copies in a separate location off the server itself so that your data remains safe in case of a problem.